Nursery & Home
Nursery Must-Haves: The Essential List Without the Fluff
Soyeon Park·12 min read
Nursery organization storage ideas that work. Set up zones, closets, drawers, and changing stations before baby arrives—reduce overwhelm, save sleep.
You will not have time to organize a nursery at 3 AM with a screaming newborn in your arms – which is exactly why nursery organization storage ideas need to happen before baby arrives.
Strategic storage isn’t about making your Instagram look good. It’s about reducing the number of decisions you make during the hardest parts of the day, when exhaustion is your default state and your brain has nothing left to give.
This guide breaks down exactly how to set up dressing zones, closet systems, drawer dividers, and changing stations so everything has a place – and so your partner, your mom, or anyone helping out can navigate the room without waking you up to ask where the wipes are.
You will not have time to figure this out at 3am with a screaming newborn in your arms. That’s the whole point.
A nursery that’s set up with intention means everything has a place before exhaustion becomes your default state. Diapers within arm’s reach of the changing table. Onesies organized by size so you’re not excavating a drawer in the dark. Feeding supplies grouped together so your brain doesn’t have to work when your body already has nothing left.
Strategic storage isn’t about aesthetics. It’s about reducing the number of decisions you make during the hardest parts of the day.
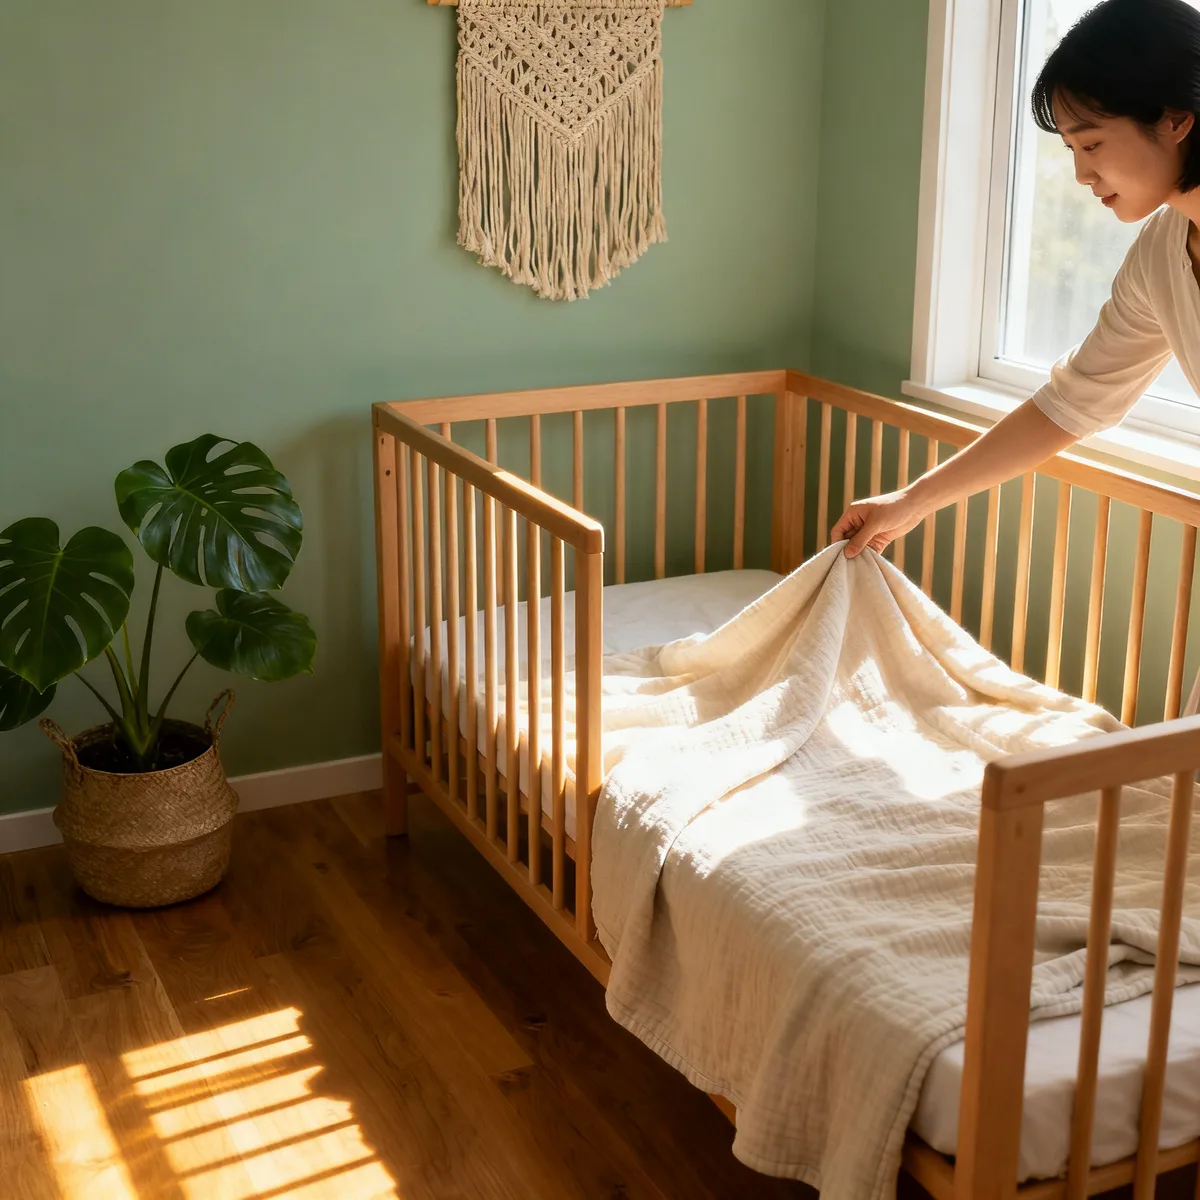
Think in zones: one for dressing, one for feeding, one for sleep. Each zone should be self-contained – what you need for that task lives there, full stop. When you’re running on no sleep and postpartum hormones are doing their thing, you don’t want to be hunting for a burp cloth.
If you’re working with limited square footage, the zoning approach matters even more. The principles behind small space nursery ideas apply here too – vertical storage, multi-use furniture, and ruthless editing of what actually needs to be in the room.
Getting this right before baby arrives also means your partner, your mom, anyone helping out can navigate the room without asking you where anything is. That’s not a small thing. That’s an hour of sleep you don’t lose explaining where the extra wipes are.
Good nursery organization storage ideas don’t require a budget overhaul or a Pinterest board. They require thinking through your actual routines and building a room that supports them.
Most nursery closets are deeper and taller than they need to be – and most people use about a third of that space. Break it into three zones and suddenly it works.
The hanging rod is for current-size clothes only. Everything else is noise. A double hanging rod insert gives you two levels – one for onesies and short sets, one for the occasional dress or jacket.
Shelves are where the real organizing happens. Shelf dividers keep folded stacks from collapsing into each other. Labeled bins handle the size rotation – NB, 0-3, 3-6, and so on – so you’re not guessing what’s packed away when a growth spurt hits at 11pm.
Speaking of which: keeping one bin of the next size up on an accessible shelf is one of those nursery must haves that nobody tells you about until you’re digging through a storage bin in the dark.
The floor zone gets overlooked. A few stackable bins or a small rolling cart can hold extra diapers, backup wipes, or bulky items that don’t belong on shelves. Keep it off the floor proper so you can actually sweep.
Hanging organizers on the back of the closet door are useful for small stuff – socks, mittens, pacifiers, nail clippers. Things that disappear into drawers and never come back.
For seasonal rotation, clear bins beat opaque every time. You see what’s in them without opening them. Label by size and season, not just size. Future you will care about both.
One rule that holds: if you need a step stool to reach it, it’s not a daily-use spot. Build your closet around what you touch most, not what looks organized from the doorway.
Drawers without dividers are where organization goes to die. Everything migrates to the center, nothing stacks, and you’re unfolding six onesies at 3am to find the one that fits.
Adjustable dividers – the kind that tension-fit into any drawer – are the move. They let you reconfigure as your categories shift, which they will constantly in the first year.
Sort by category, not by outfit. Onesies in one section, pants in another, socks rolled and standing upright in a third. When you’re speed-dressing a squirmy baby, you don’t want to think – you want to grab.

Sizing progression is where most drawers fall apart. Keep only the current size in the main dresser. The next size up goes in a labeled bin elsewhere. Mixing sizes means you’ll dress your baby in something two months too small because it was on top.
Labels don’t need to be cute. They need to be readable at a glance – masking tape and a marker works fine. Size, category, done. If you’re deep into nursery organization storage ideas on Pinterest, it’s easy to over-design a system that only works when the baby is asleep and you have time to think.
For the diaper change drawer specifically, treat it like a surgery tray. Diapers, wipes, a spare onesie, rash cream – in that order, every time. The consistency is the point. Your hands should know where everything is before your brain catches up.
One more thing: if mom burnout has you running on fumes, a drawer system that actually works pays back in small ways every single day. Less friction at 6am matters more than it sounds.
The goal is simple: everything you need within one arm’s reach while the other arm pins down a wriggling baby.
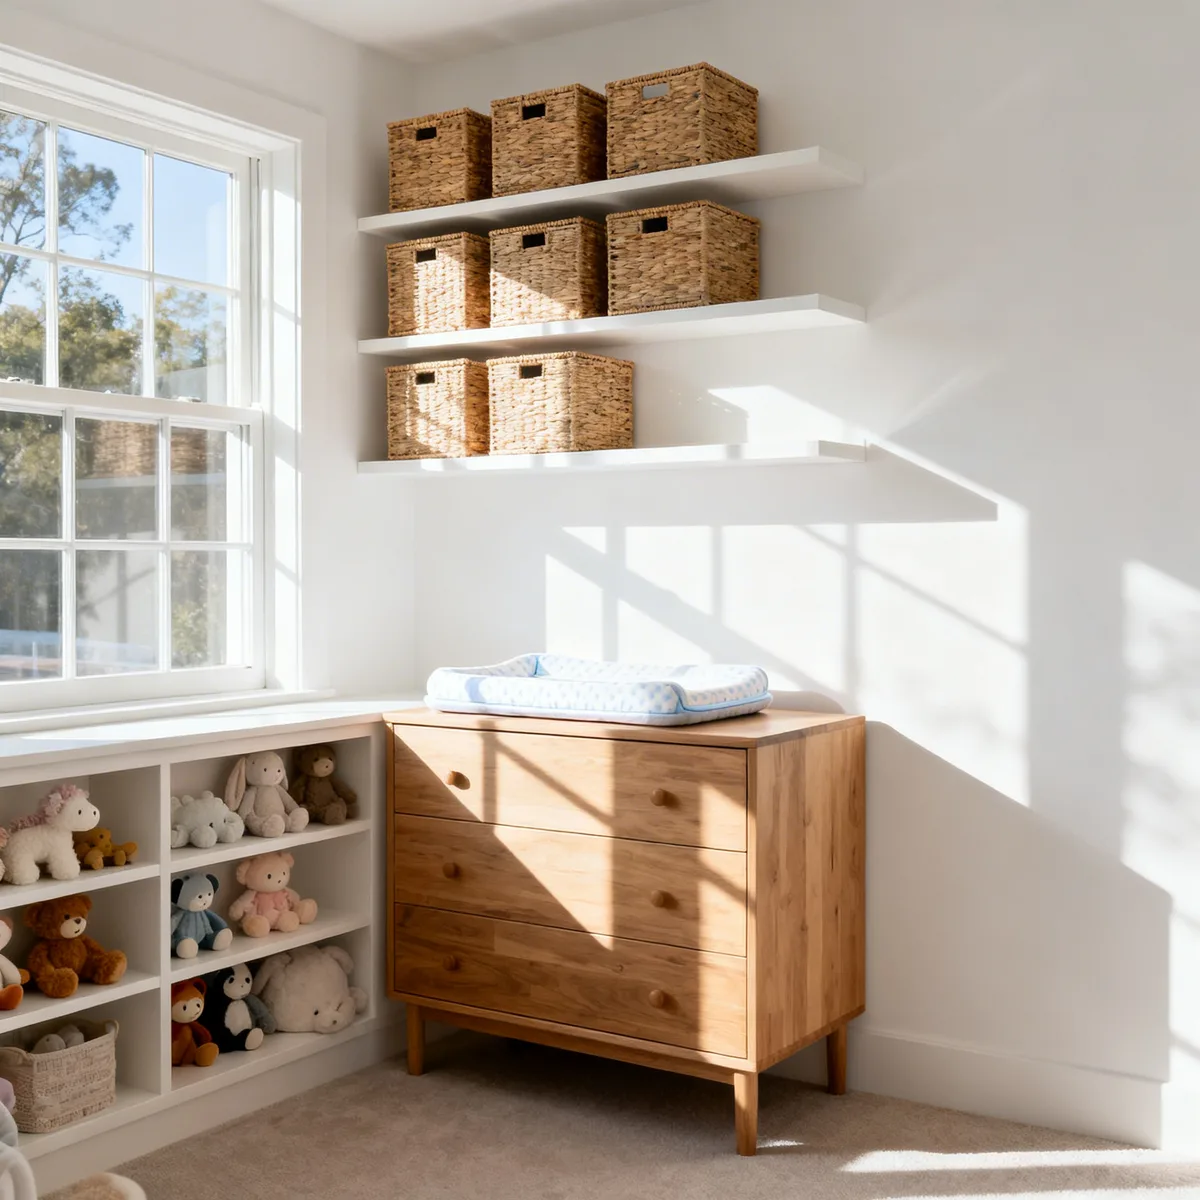
For a dedicated changing table, work in tiers. Top surface holds only what you touch every single change – diapers, wipes, diaper cream. Nothing else lives there.
The shelf below is your backup inventory. Two-day supply of diapers, extra cream, spare outfit. You restock from here, not from a closet across the room.
Dresser-top setups work just as well, sometimes better. A small caddy or divided tray on the right side keeps your three essentials grouped without taking over the surface.
Add a small basket on the left for the onesie you’re about to put on. It sounds overly specific. It isn’t – when you’re doing this change blind at 3am, preset placement removes every decision.
If your baby has sensitive skin or a recurring rash, keep the treatment cream front and center rather than buried behind the everyday stuff. And if you’re navigating something more persistent, the guide on baby eczema treatment is worth a read before your next pharmacy run.
One thing people skip: a small lined bin clipped or hung on the side of the table for dirty diapers. Reaching across the room to a trash can is how things go sideways fast.
These are your nursery organization storage ideas in practice – not aesthetic, functional. The setup should work when you’re exhausted, distracted, and operating on three hours of sleep.
Set it up once, correctly. Then don’t move anything.
Small nurseries don’t need more square footage. They need smarter decisions about vertical space and what actually earns a spot on the floor.
Over-door organizers are underused. The back of the nursery door can hold diapers, wipes, small clothing, burp cloths – anything you’d otherwise pile on a surface. It’s dead space most people ignore.
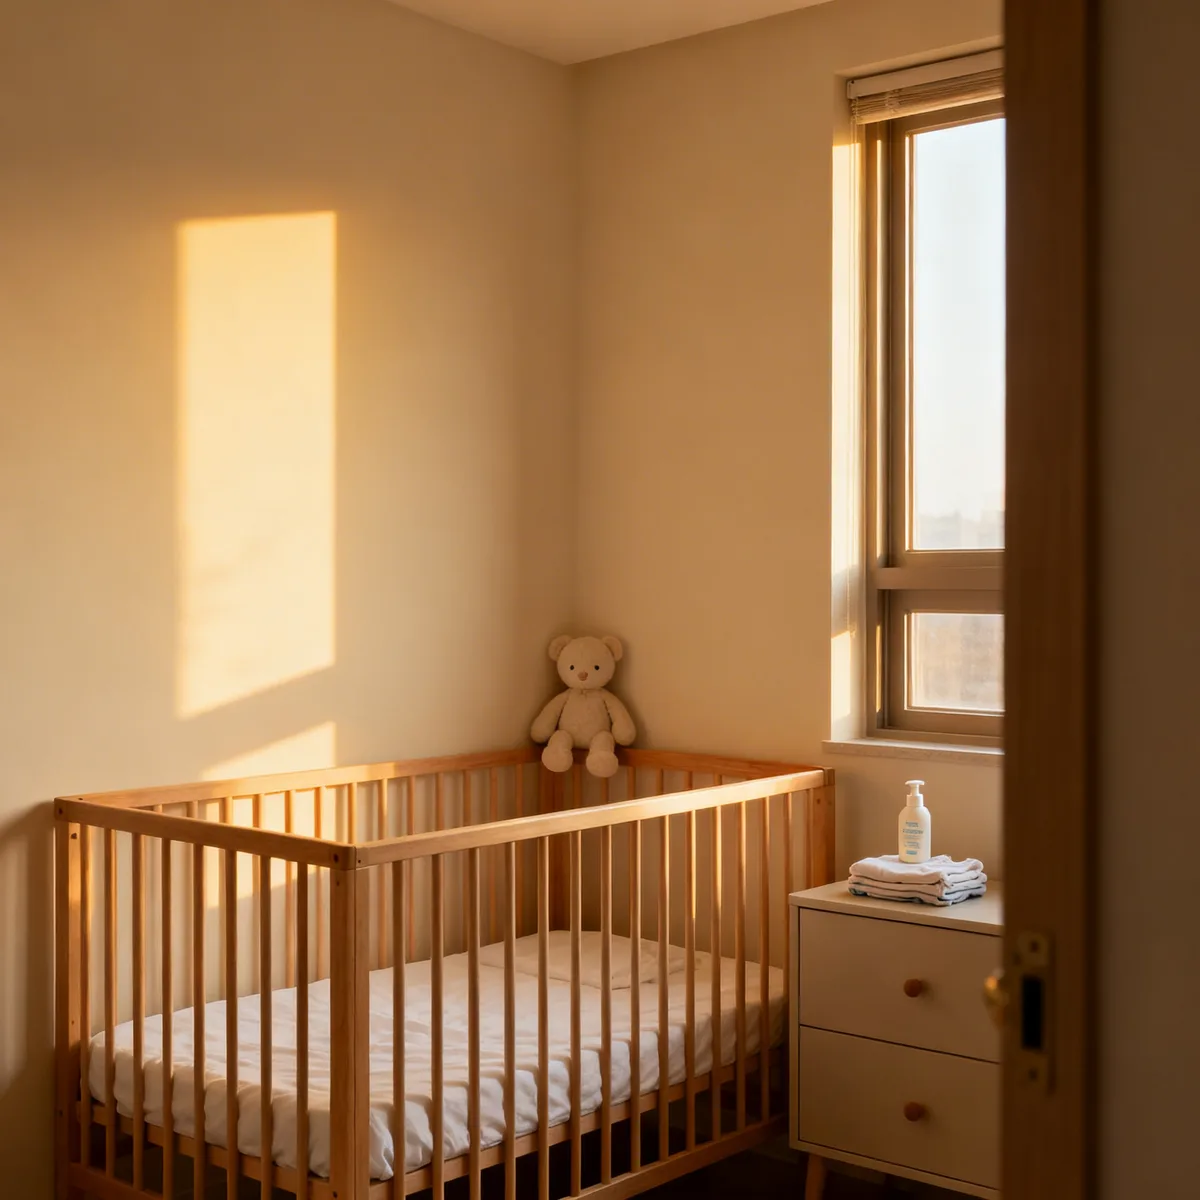
Under the crib is legitimate storage. Flat, lidded bins slide in cleanly and hold seasonal clothing, extra blankets, or backup supplies. Just keep the front row accessible – if you need a step stool to reach it at 3am, you’ll stop using it.
Wall-mounted shelving keeps the floor clear and puts things at eye level. Books, monitor, white noise machine, small baskets – all up, off surfaces, out of reach once your baby starts pulling on things. If you’re thinking through your baby monitor types at the same time, mount the shelf with that placement in mind.
Stackable bins work best when they’re labeled and consistent. One bin category per bin – onesies, sleep sacks, extras. The moment you start mixing categories, the system collapses under sleep deprivation.
Pegboards and wall hooks handle the awkward stuff: swaddle blankets, baby carriers, nursing covers. Things that are bulky but used constantly. Hung up, they’re accessible. Folded in a drawer, they disappear.
The rule for tight spaces is simple: if it lives on the floor, it has to earn it. Rolling carts work because they move. Rocking chairs work because you use them. Random bags of stuff don’t work – they just migrate and multiply.
One product category worth knowing: fabric drawer organizers inside existing dressers can effectively double your storage capacity without adding a single piece of furniture to the room.

The part nobody tells you: the organizing isn’t a one-time project. Baby clothes cycle through sizes every 6-8 weeks in the early months, and if you don’t have a system, you end up rediscovering a drawer full of 0-3 month onesies your kid outgrew two months ago.
Color-coded labels are the most low-effort solution that actually holds up. Assign a color to each size range – one color for newborn, another for 0-3, another for 3-6 – and label bins, drawers, or boxes accordingly. You don’t need a label maker. Colored tape or dot stickers work fine.
Season tags are worth adding as a second layer once you’re past 6 months. A 12-month winter sleeper and a 12-month summer romper shouldn’t live in the same bin. Separate them by size and season and future-you will actually be grateful.
For rotation, set a recurring reminder every 6-8 weeks to audit the current drawer. Pull anything that’s getting tight, box it with a size label, and move the next size up in. It takes 15 minutes and prevents that specific frustration of dressing your kid in something too small because you forgot to swap things out.
The outgrown bins deserve their own designated shelf or closet corner – not a pile on the floor. If you’re working through broader nursery organization storage ideas, treating the “next size up” stack as real inventory (labeled, accessible, ready to rotate) is the move that keeps the whole system from collapsing.
One honest note: if you’re also navigating a major life shift around this time – like going back to work after baby – a labeled rotation system pays for itself in mental load alone. Less guessing. Less chaos. More time for the things that actually need your attention.
Not everything needs to be expensive. A dollar-store bin does the job if it’s holding seasonal items you touch twice a year.
But there’s a category where cheap storage costs you more in the long run: the stuff you’re opening and closing every single day.
Diaper organizers, changing station caddies, feeding supply storage – these take real wear. Flimsy dividers warp. Cheap fabric bins lose their shape and collapse into themselves. You end up reorganizing the same drawer every three weeks because the system physically fell apart.
That’s where a modest investment actually holds up. Structured bins with reinforced sides, drawer dividers that don’t slide around, and modular shelving you can reconfigure as the room evolves – these earn their price over two or three years of daily use.
The DIY route works well for low-traffic zones. Repurposed shoeboxes for craft supplies. Mason jars for small items on a high shelf. A tension rod under the sink to hang spray bottles. Smart, zero-cost, completely fine.
Where DIY tends to fail is in anything requiring consistent one-handed access – which, with a baby in your other arm, is basically everything.
A good rule of thumb: if you touch it more than once a day, buy something built to last. If you touch it monthly, a $3 bin is fine.
One more thing worth considering – if your nursery doubles as a feeding station and you’re breastfeeding and working, your storage needs to support a system that runs on almost no sleep and zero spare time. That’s not the place to gamble on a flimsy basket from the dollar bin.
Spend where friction lives. Save everywhere else.
Shelf dividers paired with labeled bins are the foundation – they prevent folded stacks from collapsing and make rotation by size quick. For drawer-specific organizing, small fabric dividers or cardboard organizers keep categories (onesies, socks, pants) in distinct sections so you can find what you need without upending the whole drawer.
Arrange your changing station in tiers: diapers and wipes within direct arm’s reach on the top or shelf closest to where you stand, creams and ointments in a small caddy or drawer just below, and backup supplies one level down. Everything should be reachable without stepping away or shifting the baby.
Use clear stackable bins labeled by size (NB, 0-3, 3-6) and store them on an accessible shelf – not the floor or a high closet shelf. Keep one bin of the next size up front and center so you can swap quickly when a growth spurt happens. Seasonal items go in opaque bins stored higher or deeper, with a rotation schedule tied to monthly growth checks.
Create a tiered station directly at or above the changing surface: diapers in a stackable bin or caddy at eye level, wipes in a dispenser or container within arm’s reach, and creams in a small drawer or compartment below. This setup lets you handle a diaper change with one hand and keeps restocking simple – no hunting through closets.
Plan a rotation every 4-6 weeks or whenever you notice your baby is outgrowing a size consistently. Rotate the current-size clothes to the front, move outgrown items to a labeled bin, and bring the next-size-up bin to an accessible spot. This prevents overstuffed drawers and keeps the organizational system from becoming overwhelming.