


Feeding Guides
Baby-Led Weaning: Your Complete Beginner’s Guide to Self-Feeding
Laeeka Edries·14 min read
Learn how to clean feeding bottles to kill germs and protect your baby. Step-by-step methods, sterilization options, and material-specific care.
Here’s what nobody tells you about feeding bottles: a quick rinse under the tap does almost nothing. It looks clean. It feels clean. It is not clean. Milk leaves behind residue that’s warm, moist, and rich with nutrients — basically a perfect breeding ground for bacteria like Cronobacter, Salmonella, and harmful E. coli strains. Newborns under 3 months are especially vulnerable, but even older babies can develop serious infections from improperly cleaned bottles. The good news? Once you know how to clean feeding bottles properly, you stop worrying and start protecting your baby’s health.
Here’s the thing nobody really warns you about before you bring your baby home: a quick rinse under the tap does almost nothing. It looks clean. It feels clean. It is not clean.
Milk — breast milk and formula both — leaves behind a residue that you can’t always see. That residue is warm, moist, and rich with nutrients. Which means it’s basically a perfect environment for bacteria to grow fast. Cronobacter, Salmonella, harmful strains of E. coli — these aren’t rare horror stories. They’re real risks that live in improperly cleaned feeding equipment.
Newborns are the most vulnerable. Their immune systems are still figuring out how to work. The CDC notes that infants under 3 months, premature babies, and babies with weakened immune systems face the highest risk of severe illness from contaminated feeding equipment. That’s not meant to scare you — it’s just the honest reason why knowing how to clean feeding bottles properly actually matters in those early weeks.
As your baby gets older, their immune system strengthens. The stakes shift a little. But even at six months, bacteria in a bottle can cause vomiting, diarrhea, and the kind of miserable sick night you’d do anything to avoid. So the cleaning habits you build early? Worth keeping.
One thing that helps — and something worth knowing if you’re still putting together your feeding setup — is choosing a bottle that’s actually designed with cleaning in mind. If you’re researching materials, the ppsu vs silicone baby bottle breakdown is genuinely useful before you buy, because the material affects how thoroughly you can clean it and how long it stays safe to use.
The short version: rinsing buys you nothing. Proper cleaning is the whole game.
Okay, so you’re standing at the sink at 2am with a bottle that smells like old milk. Here’s what actually works.
First — rinse it immediately after every feed. Warm water, not hot. Hot water right away can actually bake the milk proteins onto the plastic or silicone, making it harder to clean later. Just a quick rinse buys you a lot.
When you’re ready for a proper wash, here’s the full process:
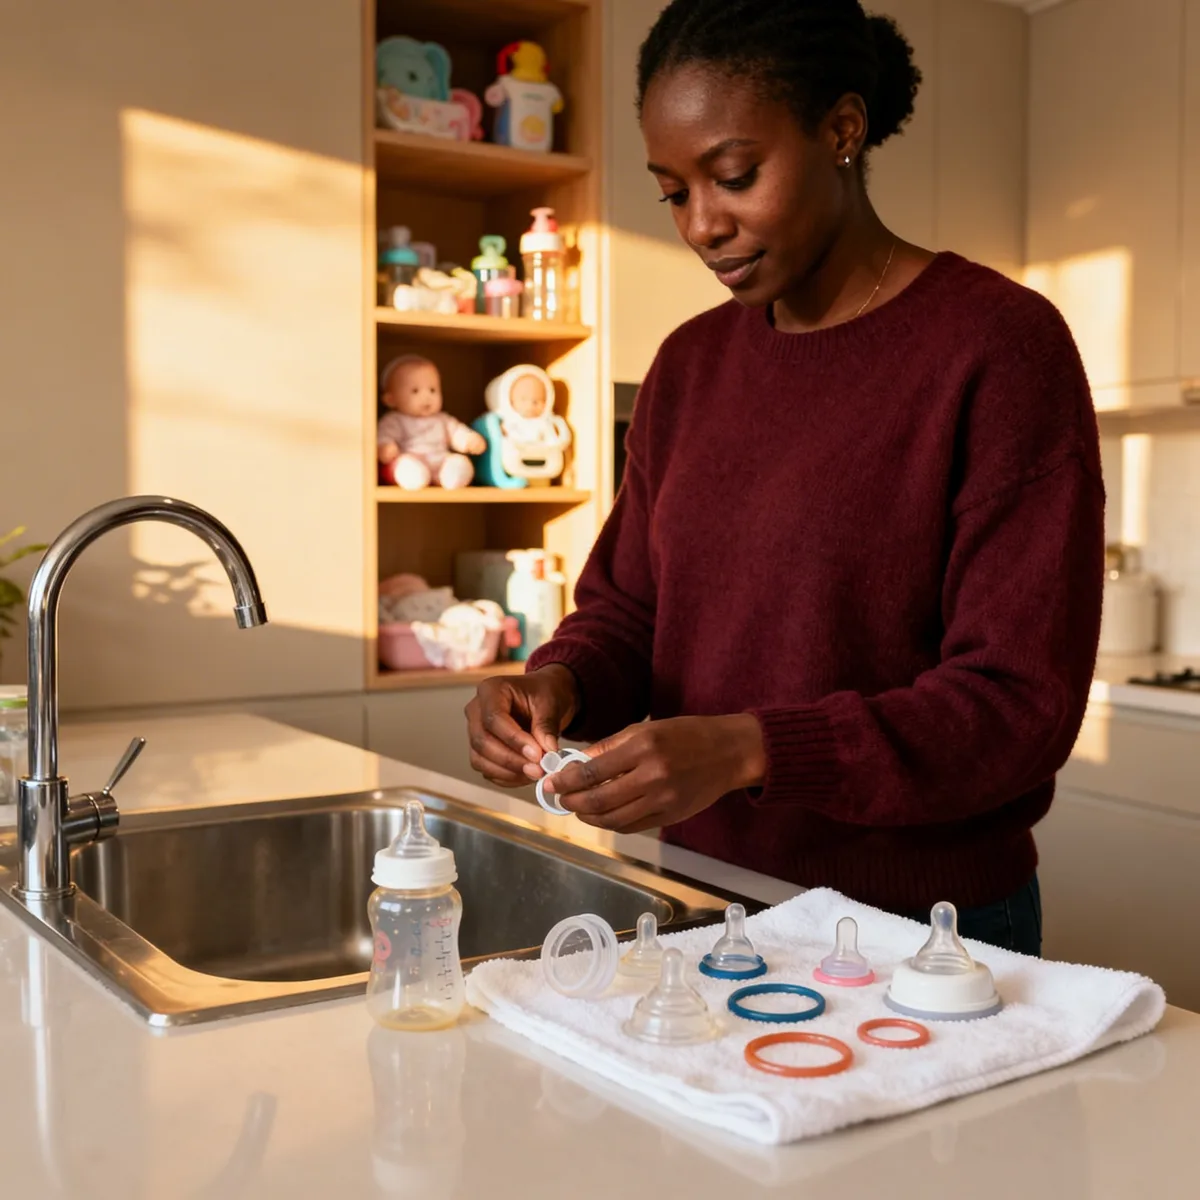
Disassemble everything. Every part. The teat, the collar, the disc, the bottle body. Milk hides in the join between the teat and the collar almost every single time. If you’re not taking it apart, you’re not actually cleaning it.
Use warm soapy water — not boiling. A dedicated bottle brush matters more than most people think. You want one with a soft sponge tip (not hard bristles) that reaches the full base of the bottle. Hard bristles scratch the interior, and scratches trap bacteria. For the teat, use a small teat brush — that thin little brush that usually comes in the pack. Push it through the nipple hole. Don’t skip this.
Scrub in circular motions inside the bottle, paying attention to the shoulder — that curved area at the bottom of the neck. Milk pools there. For bottles with angled necks or vented systems, a flexible brush is worth having. If you want a soap that’s genuinely gentle on bottle materials, Nature Love Mere is what I reach for — it rinses clean without leaving residue.
Rinse thoroughly. More than you think you need to. Soap residue is its own problem.
Air dry on a clean rack — teat-side down, bottle upside down. Towel drying just transfers bacteria from the cloth. If you’re bottle feeding alongside breastfeeding and want the full picture on feeding in those early weeks, newborn cluster feeding day 2 is worth a read — it puts a lot of the newborn feeding chaos into context.
The whole process takes maybe four minutes. That’s the whole game.
Here’s the thing nobody says out loud: washing alone is usually enough for healthy, full-term babies over three months old. But in those early weeks — or if your baby was premature or has a weakened immune system — sterilizing actually matters. The CDC recommends sterilizing bottle-feeding equipment at least once daily for babies under two months, premature infants, and babies with compromised immune systems. That’s the window where it counts most.
So let’s talk about your options, because they’re not all equal.
Boiling is the oldest method and it works. Submerge everything — bottle, teat, cap — in boiling water for five minutes. Simple. Free. But it’s hard on silicone teats over time, and some cheaper plastics can warp or leach if they’re not rated for it. Check the bottle before you boil it.
Electric steam sterilizers are the easier everyday option. They’re fast, they don’t degrade materials as quickly, and most hold a full day’s worth of bottles in one cycle. If you’re learning how to clean feeding bottle equipment without losing your mind at 3am, a countertop sterilizer genuinely helps. Some models also dry, which matters — moisture left inside is where bacteria grow back.
Dishwasher sterilization only works if your machine has a high-heat sanitize cycle. Top rack, teat-side down, and use a dedicated basket so small parts don’t fall through. Glass and stainless bottles handle the dishwasher well. Some plastics don’t — always check the manufacturer’s guidance.
Whatever method you use, let everything cool and dry completely before reassembling. And if you’re building out your feeding kit from scratch, the baby registry checklist first time parents actually covers sterilization gear worth having — so you’re not guessing at the store.
Here’s the part nobody warns you about. You do everything right — you scrub, you sterilize, you feel good about it. Then you stack the bottles while they’re still a little damp. And that’s where it goes wrong.
Moisture is where bacteria lives. Even a clean bottle can grow mold inside if it’s stored wet. So drying isn’t the afterthought. It’s part of the clean.
After washing, shake off the excess water and set everything on a dedicated drying rack — teat-side down, nothing touching nothing. Let air do the work. A rack near a window or with good airflow around it dries faster than one tucked in a corner. Don’t towel-dry. Cloth introduces bacteria right back onto a surface you just cleaned.
If you’re short on time, a bottle dryer with a built-in UV sterilizer speeds things up and skips the guesswork. But even then — fully dry before you close the lid on any storage container.
For storage, a covered container or clean cabinet works fine. What doesn’t work: loose bottles rattling around in a drawer with other kitchen stuff. Cross-contamination between feeds is real, and it usually happens during storage, not washing.
Cleaned and sterilized bottles are good for about 24 hours if stored properly. After that, re-sterilize before use. If your baby is newborn, premature, or immunocompromised, be stricter about that window — not because you’re being anxious, but because it actually matters at that stage.
One more thing. If you’re also navigating breastfeeding alongside bottle feeding, the way you store pumped milk matters just as much as how you clean the bottles. Foremilk hindmilk imbalance symptoms can sometimes show up when feeds get mixed up — so keeping your system organized helps more than you’d think.
Nobody tells you that the material your bottle is made from actually changes how you clean it. You figure that out the hard way — usually when something smells off or looks cloudy and you’re not sure why.
Here’s what I know about each one.
Glass bottles are the most forgiving. They can handle boiling water, steam sterilizers, and dishwasher cycles without breaking down. No warping, no staining, no weird residue building up over time. The main thing to watch for is chips or cracks — especially around the neck and rim. A chipped glass bottle goes straight in the bin. No second-guessing that one.
Plastic bottles need more attention. High heat degrades plastic over time, so if you’re using a dishwasher, top rack only, and skip the heated dry cycle when you can. Scratches are the real problem here — they create tiny grooves where milk residue hides and bacteria can grow. If your plastic bottle looks scratched up or has gone cloudy and won’t come clean, that’s your sign to replace it. Knowing how to clean feeding bottle materials properly actually extends how long plastic stays safe to use — gentle brushing, not scrubbing hard.
Silicone sits somewhere in the middle. It’s soft, flexible, and doesn’t scratch easily — which is good. But it does absorb odors and can hold onto fat from breast milk if you’re not thorough. Hot water helps cut through that. Silicone is generally dishwasher safe, but check your brand’s guidance because not all silicone is the same quality.
Across all three materials, the nipples and valves need as much attention as the bottle itself. Those small parts are where buildup happens first. If you’re also working on getting breastfeeding established alongside bottle use, newborn latching tips can help you manage both without one undermining the other.
You’re exhausted. You’ve got a hungry baby and a pile of bottles and you just want to get through it. That’s real. And it’s exactly when the small shortcuts sneak in — the ones that seem fine until your baby is sick and you’re running through every possible reason why.
Here’s what I know from being in that fog. The most common mistake is skipping the bottle brush and just rinsing with water. Running water feels like cleaning. It isn’t. Milk residue clings to the inside walls, especially at the base and neck where your hand can’t reach. You need the brush every single time.
The second mistake — and honestly the one most people don’t even think about — is ignoring the valve and vent components. Those tiny pieces are doing real work during every feed, and they trap moisture and milk in places you can’t see. Disassemble everything. Every piece. Every wash.
Rushing the rinse is another one. If you’re learning how to clean feeding bottle parts properly for the first time, this surprises people — soap residue left on bottle parts can cause tummy upset. A slow, thorough rinse under warm running water matters more than most realise.
And soaking? It feels productive, but leaving bottles sitting in standing water actually creates a breeding ground for bacteria rather than removing it. Clean, rinse, dry upside down on a rack. That’s the sequence.
The CDC recommends that all bottle-feeding equipment be thoroughly cleaned after every use to protect infants from harmful germs, particularly because babies under 12 months have immune systems that are still developing and can’t fight off contamination the way older children can.
None of this has to be complicated. It just has to be consistent. A good routine you actually stick to beats a perfect routine you abandon at 2am.
Here’s the honest truth: you don’t need to sterilize every bottle every single day forever. But you do need to know what “good enough” actually looks like — because there’s a real difference depending on how old your baby is.
For newborns (0–3 months): Sterilize after every wash. Full stop. Their immune systems are brand new. Once you know how to clean a feeding bottle properly — wash, rinse, sterilize, air dry — do that whole sequence after every single use. No shortcuts here.
For babies 3 months and older: Daily washing after every use, sterilizing once a day. If your baby is healthy and your water supply is clean, that’s genuinely enough.
Your daily non-negotiables: Wash every part after every feed. Nipple, collar, bottle body, any valves. Don’t let milk sit. Don’t rinse and call it done.
Your weekly deep clean: Soak all parts in hot soapy water for a few minutes. Check the nipple carefully — squeeze it, look through it, feel for any tackiness. Check the bottle body for cloudiness or that faint sour smell that won’t rinse away.
Signs a bottle needs replacing, not cleaning: Visible cracks or chips. A nipple that’s sticky, discolored, or has an uneven flow. A bottle that smells off no matter what you do. Cloudy plastic that was once clear. When you see those things, it’s time to let it go.
And if you’re navigating those chaotic early weeks — feeding around the clock, barely sleeping — know that a dream feed newborn routine can actually help you build more predictable windows for washing and resetting your bottles overnight. Small systems make the big stuff easier.
For newborns under 3 months and premature babies, sterilization after each cleaning is recommended by health experts. For older babies with stronger immune systems, thorough washing with hot soapy water and a bottle brush is often sufficient between occasional sterilization rounds. Check your pediatrician’s guidance based on your baby’s age and health status.
Always disassemble every component — teat, collar, disc, and bottle body — before cleaning. Use a small dedicated teat brush to push through the nipple hole gently, and wash the valve components in warm soapy water with soft circular motions. Avoid hard bristles and boiling water immediately after use, as these can scratch or degrade silicone and damage one-way valves.
A properly cleaned and dried bottle can be stored safely for several days in a clean, dry place away from dust and moisture. However, once you fill it with milk or formula, use it within 2 hours at room temperature (or follow your pediatrician’s specific guidance). Contamination happens fastest when bottles remain moist or warm.
Regular dish soap works fine for cleaning baby bottles — it doesn’t need to be specially formulated for babies. The key is rinsing thoroughly to remove all soap residue, using warm (not boiling) water, and ensuring you reach every crevice with a proper bottle brush. Some parents prefer fragrance-free soap, but it’s not necessary.
Replace bottles if you notice visible cracks, deep scratches in the interior (which trap bacteria), clouding or discoloration, wear on the threading, or any warping. For silicone bottles, check for permanent staining or degradation. Regularly inspect after cleaning — damaged bottles are harder to sanitize properly and should be removed from your feeding rotation.